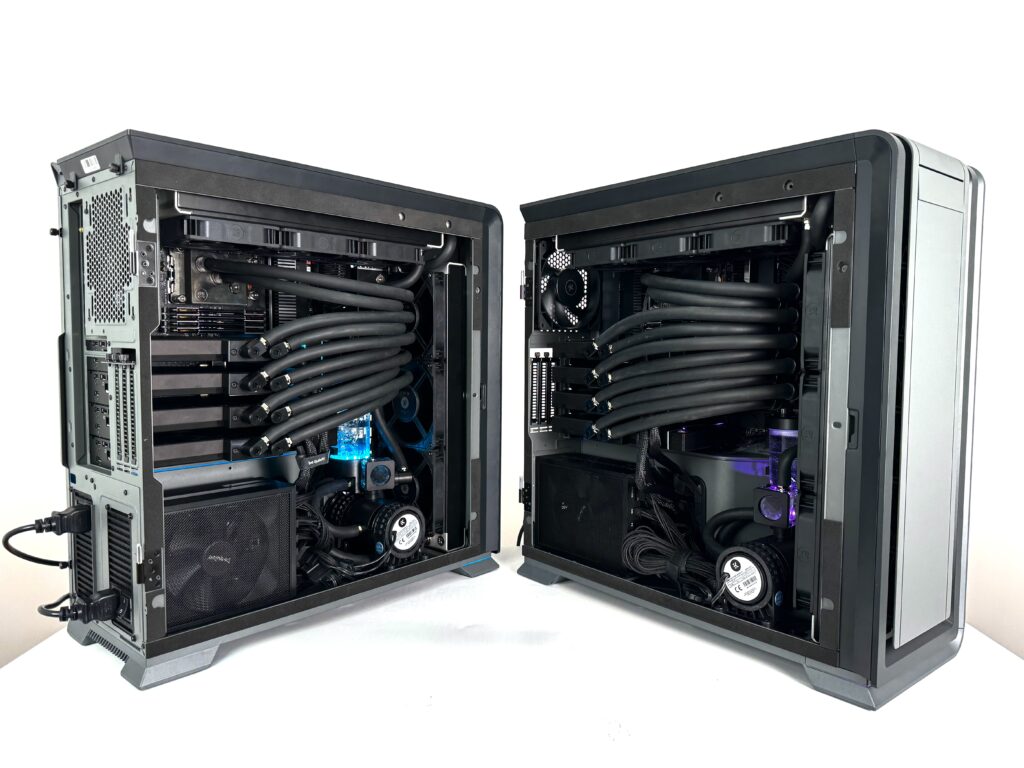
It’s almost always unnecessary, expensive and pointless to do custom water-cooling on your PC. But if the looks, silence, lower temperatures or bragging rights are worth your time and money, custom water-cooling is a fun adventure and your pass to join the 132K members of r/watercooling.
The basic premise is simple:
Build a way for water to flow over your PC’s components and cool that water
Once you’ve decided your PC components with tools like PCPartPicker or Logical Increments, we can get to the designing, deciding and buying additional parts to build your loop.

Let’s break the loop into a few key parts:
- Store water (Reservoir) and make it flow (Pump)
- Over your Components (Waterblocks)
- Cool the water (Radiators)
- Connect them all together (Tubes and Fittings)
Pump & Reservoir
The idea here is very similar to a pump pushing water up from a well. The place where the water (or coolant) is stored is reservoir and the pump pushes the coolant to everywhere else.
I recommend getting a combo pump-res unit that simply fits onto a fan’s location on your case like the Flat res with pump from Alphacool or the EK-Quantum Kinetic³ FLT 240 D5 which can be mounted in the front, back, or sides of your case.
You can also get around 2 liters of coolant, this can be distilled water however I recommend getting a clear coolant from EK or the GL50 Alphacool to prevent microbial growth and corrosion in the long run.
Waterblocks
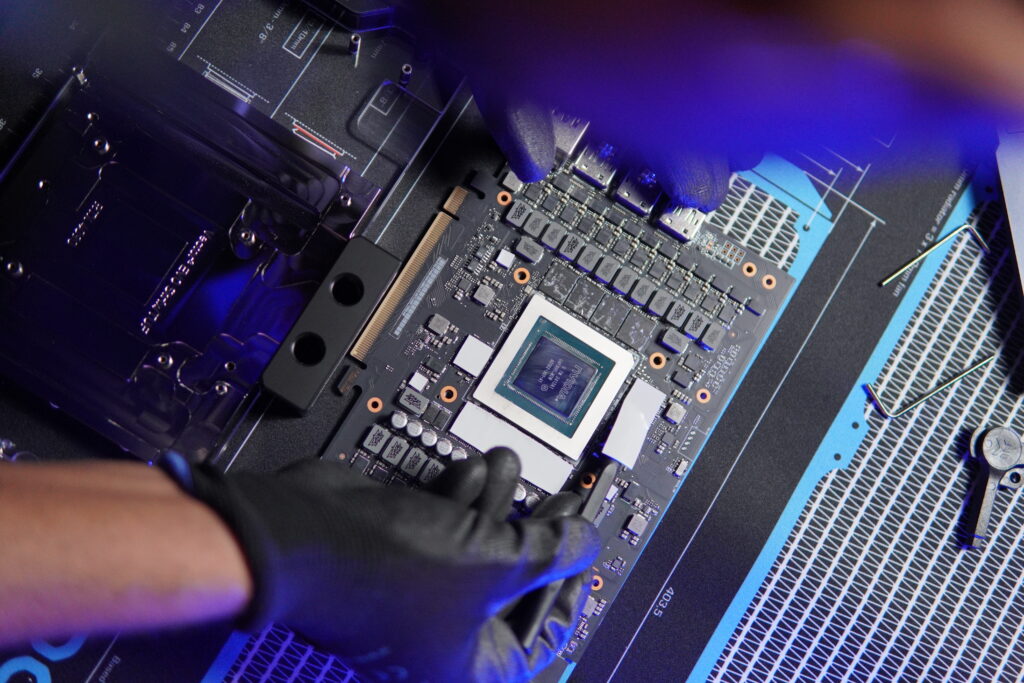
For every component that you need to cool in your PC, you need a waterblock that is compatible with it. You should only realistically cool your GPU and CPU, anything more is just being extra-fancy. Unless you got a motherboard like the Z690 Aqua from ASRock which comes with a waterblock for both the CPU and VRMs, it’s best to stick with CPU and GPU waterblocks.
Take extra care when with the GPU Waterblock as most modern ones only work with a specific model of GPU. For example, an ASUS Strix/TUF RTX 4090 Block from EKWB will not work with a PNY RTX 4090 and you need to take it apart to mount the GPU block.
Radiators
You need at least one 240mm radiator to cool a 500W load, adding more radiators will bring down the noise and temperatures. The choice of radiator comes down to your case. A ‘big’ case, like the DARK BASE 701 can fit 2 360mm radiators.
If your case allows, it’s always a good idea to overspec your radiator capacity to keep the system cool and quiet.
Tubes & Fittings
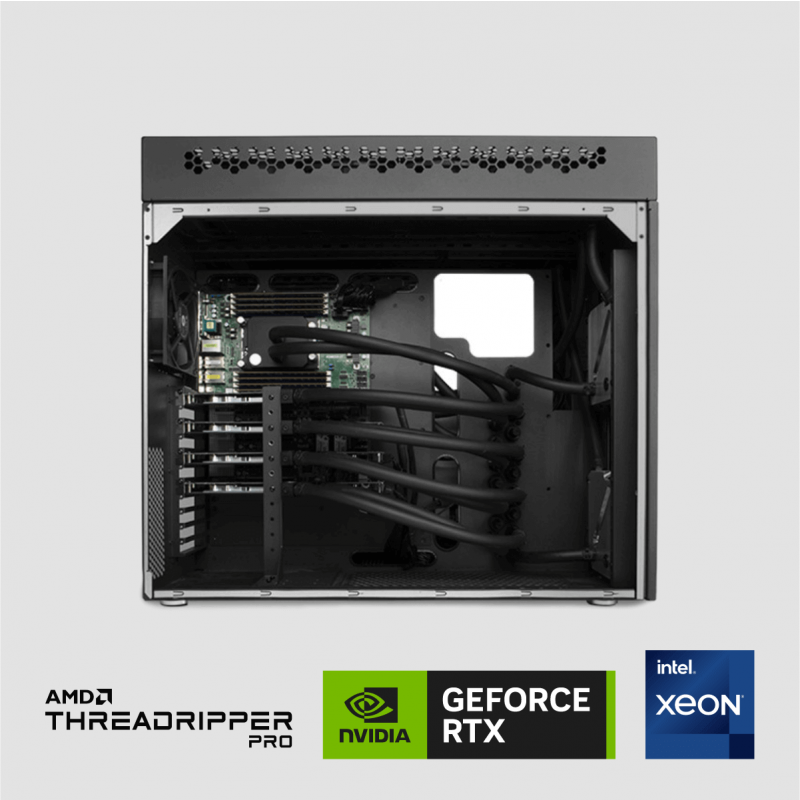
To connect all these components together, you’ll need tubing and fittings. Tubing carries the coolant between the pump, waterblocks, and radiators, while the fittings ensure secure connections at each junction.
You can choose between soft flexible tubing or hard tubing made of acrylic, glass or metals. Soft tubing is easier to work with and more forgiving, while hard tubing offers a more polished, aesthetic look but requires more tools to cut and bend them.
Some recommendations for tubing are Alphacool 16/13mm Acrylic HardTube and Alphacool 16/10 (3/8″ID) – Clear SoftTube
For fittings, ensure you choose the correct size that matches your tubing, it’s always best to buy the fittings and tubing from the same brand. There will be two types of connections you’ll be dealing with in a typical watercooling loop, one being G1/4 – which is present on all rads, and waterblocks, the other being similar to your tube size like 16mm HardTube or 16/10mm SoftTube which match the tubing recommendations
It’s better to have some extra fittings on hand, such as rotary angled adapters and extenders. Try to make room for a temperature sensor like the Alphacool G1/4 to make the fan tuning easier.
Further reading:
ChooseMyPC.net | Water Cooling Guide
Custom Cooling Configurator | Custom Loop Configurator (ekwb.com)
Custom Loop Building With EK Liquid Cooling Components (ekwb.com)


